
You pull a favorite pair of studs from the nightstand and the posts look flat and grey, while the fronts still catch a little light. Sweat, lotion, and ordinary air did that over a few weeks of wear. Before you reach for a dip or a paste, match the metal. The same cleaner that brightens solid sterling can thin plating or erase a blackened design you chose on purpose.
Table of Contents
- Identify Your Earrings Before You Clean
- Safe Wash Steps for Plain Sterling Silver
- Clean Stone-Set, Plated and Oxidized Earrings
- Remove Stubborn Tarnish Without Overcleaning
- Store Silver Earrings to Slow Tarnish
- Irritation, Stop Signs and Your Next Step
Identify Your Earrings Before You Clean
Wash plain 925 sterling with mild soap and water, and check the pair against this table before you choose any other method. One cleaner can ruin one pair and leave another untouched, so the first job is naming what you own.
Sterling silver is typically 92.5% silver and 7.5% copper or other alloying metals. That copper makes the piece strong enough to wear, and it is also why the surface darkens when sulfur gases in the air touch it. A hallmark reading 925 on the post or back, plus an even silver color with no brass showing through, is the usual sign of plain sterling. If you are still learning the stamps, our sterling silver earring guide walks through what those marks mean on everyday pairs.
| Earring type | How to recognize it | Safe starting method | Avoid |
|---|---|---|---|
| Plain sterling silver | 925 stamp and even silver color, about 92.5% silver with 7.5% copper | Wash-first method, then a silver cloth for light tarnish | Chemical dips, abrasive powders |
| Silver-plated | Brass or copper showing at worn edges | Mild soap and soft cloth only | Polishing cloths, scrubbing, soaking |
| Stones, pearls or enamel | Set stones, pearls, colored enamel | Dry wipe, then damp cloth on spots | Immersion, dips, ammonia |
| Oxidized or antique finish | Deliberate dark details in recesses | Leave alone or ask a jeweler | Any polishing, which removes the finish |
| Glued or hollow pieces | Visible glue, hollow body, loose parts | Surface wipe, keep moisture brief | Water immersion, chemical baths |
Three checks take less than a minute.
- Read the post or back. Look for 925, sterling, or a maker's mark. No stamp does not prove the piece is fake, but it does mean you should not assume solid silver.
- Inspect the edges. A warm brass or copper line at a worn rim means plating. Rubbing that edge will not rebuild the silver layer.
- Nudge the stone or glue line. If a stone, pearl, or glued charm shifts, stop. Moisture and pressure can finish a failure that has already started.
Practical rule: If you still cannot tell, treat the pair as plated or set and use the gentlest method, a dry soft cloth and a barely damp spot clean.
Fashion and personalized pairs often mix finishes on one design. A bright front, a darkened recess, and a plated post can all sit on the same earring. Match the most fragile part, not the shiniest one.
Safe Wash Steps for Plain Sterling Silver
Turn a plain silver stud over and the back of the post often looks darker than the front. That shadow is where sweat, skin oil, and old soap collect. For plain sterling silver with no stones, plating, pearls, glue, or intentional darkening, a gentle wash is the safest start. The Canadian Conservation Institute recommends that wash-first order: dust off, then lukewarm water with a few drops of mild detergent, then a full rinse and a complete dry.
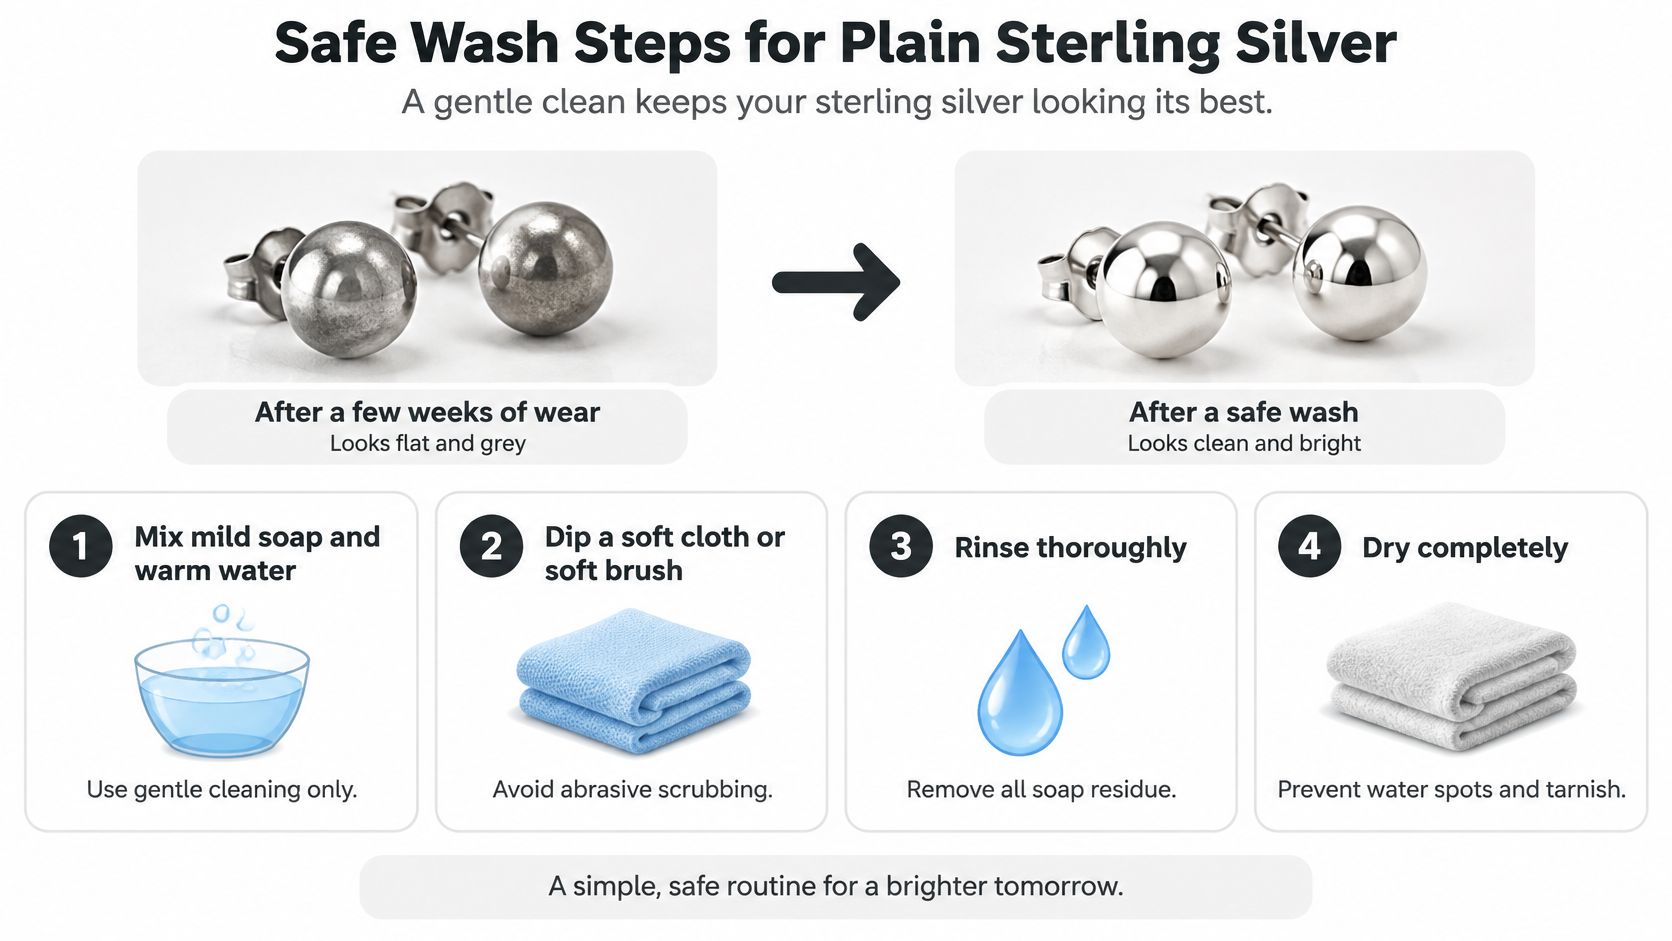
This routine stays with water, mild soap, and cloth. Stronger treatments for stubborn tarnish belong later. If the pair has stones, enamel, adhesive, hollow sections, loose solder, or plating, keep moisture brief and use the gentler route.
The wash, in order
- Brush off loose dust with a soft brush. Grit left on the metal scratches silver the moment you rub. A clean, soft makeup brush or a baby toothbrush works. Skip paper towels. Their fibers can micro-scratch.
- Fill a small bowl with lukewarm water and a few drops of mild dish soap. Lukewarm water is enough; heat adds nothing to the job. Soap lifts skin oils and light film.
- Let the metal sit for a few minutes. This step is only for plain sterling. Keep pearls, glued charms, and other non-metal parts out of the bowl. A short sit loosens grime so you do not have to scrub.
- Work a soft toothbrush around posts, butterfly backs, hoop hinges, and setting edges. The hidden post and the recess in a butterfly back hold more sweat than the front you see in the mirror. Light strokes are enough. Extra pressure wears metal without lifting grime any faster.
- Rinse under lukewarm water until no soap film remains. Soap trapped in the back of a post is the common slip. That residue holds moisture and invites the next dull film. Rinse the clutch separately from the stud.
- Pat dry, then finish with a soft lint-free cloth. Moisture left in a hinge or under a back keeps working after you put the pair away. Dry the post along its length, then the clutch, then the front.
Clean before you polish. Grit and old residue scratch the surface if you rub them in. For light tarnish only, finish with a non-abrasive silver cloth and minimal pressure. Every polishing pass removes some silver, and hard rubbing can strip plating or change fine detail, so this wash stays the default.
A short walk-through of the same gentle order helps if you would rather watch the motions once before you start.
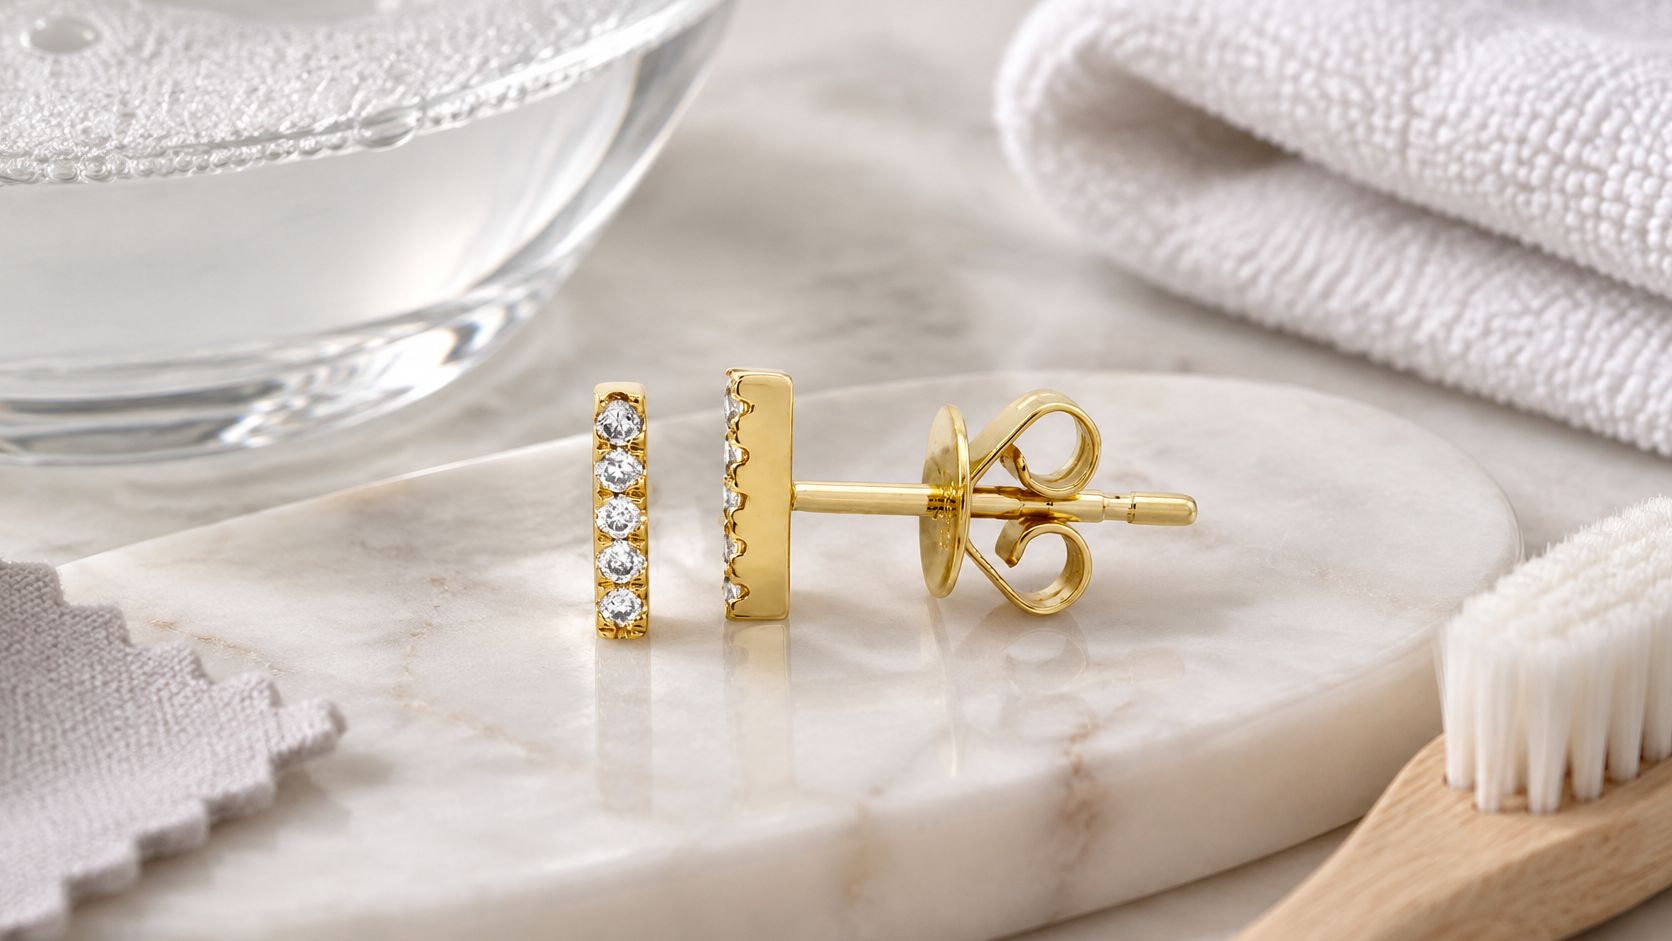
Done well, the pair shows an even silver tone, backs that slide freely, and no white soap film in the joints. A pair such as the Diamond Bar Earrings is a reminder to read the materials line first. Any plated finish or set stone means the full soak belongs to another pair; use the spot method instead.
Clean Stone-Set, Plated and Oxidized Earrings
Two silver hoops can sit side by side and still need opposite care. One may be plain sterling. The other may carry a stone, a thin plate, or dark grooves put there on purpose. Match the material first. The same cleaner that restores plain sterling can strip plating or erase deliberate oxidation.
Water is the dividing line once a stone or a coating is involved. A hard cubic zirconia tolerates a brief mist better than a pearl, and neither belongs in a bowl of water. Porous stones such as opal and turquoise behave like a sponge: liquid soaks in, then color or glue can shift. Enamel is a glass-like skin over metal, so water that finds a tiny chip keeps traveling underneath.
Stones, pearls, and enamel
Work on one dull fingerprint, not the whole earring.
- Dampen only a corner of a soft, lint-free cloth with lukewarm water. A glasses cloth is gentle enough. A paper towel is rough enough to haze a soft pearl. Touch the dull spot while the cloth is barely moist, then dry that spot at once.
- Keep the stone, pearl, or enamel face out of standing water. Do not soak or dip. Water can loosen a setting, cloud a pearl, and creep under glue or enamel.
Plated earrings
Plating works like a coat of paint over base metal. Rubbing does not put that coat back.
- Stop at the first brass or copper line on a worn edge. That warm color is base metal showing through. More rubbing only widens the bare patch, and the color will not polish back to silver.
- Skip polishing cloths and scrubbing. Those cloths are made to remove a little metal. On a thin plate, a little is the whole coating. A light pass on the metal face, with no soak and no brush pressure, is the whole job.
The jewelry care instructions set the everyday limit for these mixed pieces: a barely damp cloth on the metal, no bath, because water and harsh cleaners wear through a plate and can loosen what holds a stone.
Oxidized or antique finish
Black lines in the grooves are usually part of the design; leave them. Brush loose dust with a dry soft brush and stop. If the darkening looks patchy or accidental, ask a jeweler before you polish. Polishing an intentional antique finish lightens the recesses and flattens the look you bought. A cloth at home cannot put that depth back.
If a stone rocks, or the dark detail turns pale while you wipe, stop and let a jeweler look before the next pass.
Check that each stone still sits firm and that the surface still shows the finish you meant to keep, dark grooves included.
Remove Stubborn Tarnish Without Overcleaning
The first move is not a product. It is a decision about which pair you are holding. Tarnish is a thin surface layer formed when silver meets sulfur-containing gases in the air, so it returns after any cleaning, and the powder that rescues plain sterling can strip plating or flatten a deliberate oxidized finish. Match the material first, then work up the ladder below and stop at the first step that works. Our note on whether sterling silver tarnishes over time explains how that film builds over months of wear.
- Dry wipe. A soft cotton cloth and light strokes lift haze on plain metal. No water yet.
- Mild soapy wash. Use the lukewarm wash only on confirmed plain sterling. Rinse until the water sheets off clean.
- Non-abrasive silver cloth. For marks that remain, use minimal pressure and short strokes on the dull spots, not a hard buff of the whole earring.
When the film is still dark
For stubborn tarnish on plain, unplated sterling only, conservators at the Carlos Museum commonly use fine-particle precipitated calcium carbonate mixed with water into a thin slurry. Apply it with a cotton swab under very light pressure, rinse every trace away, and dry fully. Residue left in a joint holds moisture and starts the next film. Household chalk or whiting is not an equal substitute, because coarser particles scratch silver instead of lifting the layer.
Skip commercial dips, chemical wipes, baking soda with aluminum foil, ammonia and acidic products on fashion or personalized earrings. Dips overclean, pit the surface or leave patchy tarnish behind, and foil baths and acids attack coatings, solder, porous stones and intentional oxidation in ways you cannot undo at home. Soaking longer gains little beyond extra exposure.
Stop at once if you see any of these:
- An uneven surface where one area looks scraped and another still dark.
- Colored details lightening, including blackened grooves or enamel edges.
- A stone that shifts when you touch it.
- Black residue that stays in joints after a full rinse.
Gemstones, pearls, oxidized detail or a finish you cannot name belong with a jeweler or conservator before any polish. The finish you keep matters as much as the shine you gain.
Store Silver Earrings to Slow Tarnish
Storage conditions can contribute to new dullness. Once your earrings are clean, the goal is to keep moisture, residue, and rubbing from undoing that care. Match the routine to the material: plain sterling, plated earrings, and deliberately darkened silver should not all receive the same wash or polish before storage.
Aim for relative humidity below 50%, as recommended in Winterthur's silver care notes. A dry drawer is a better storage spot than a steamy bathroom shelf.
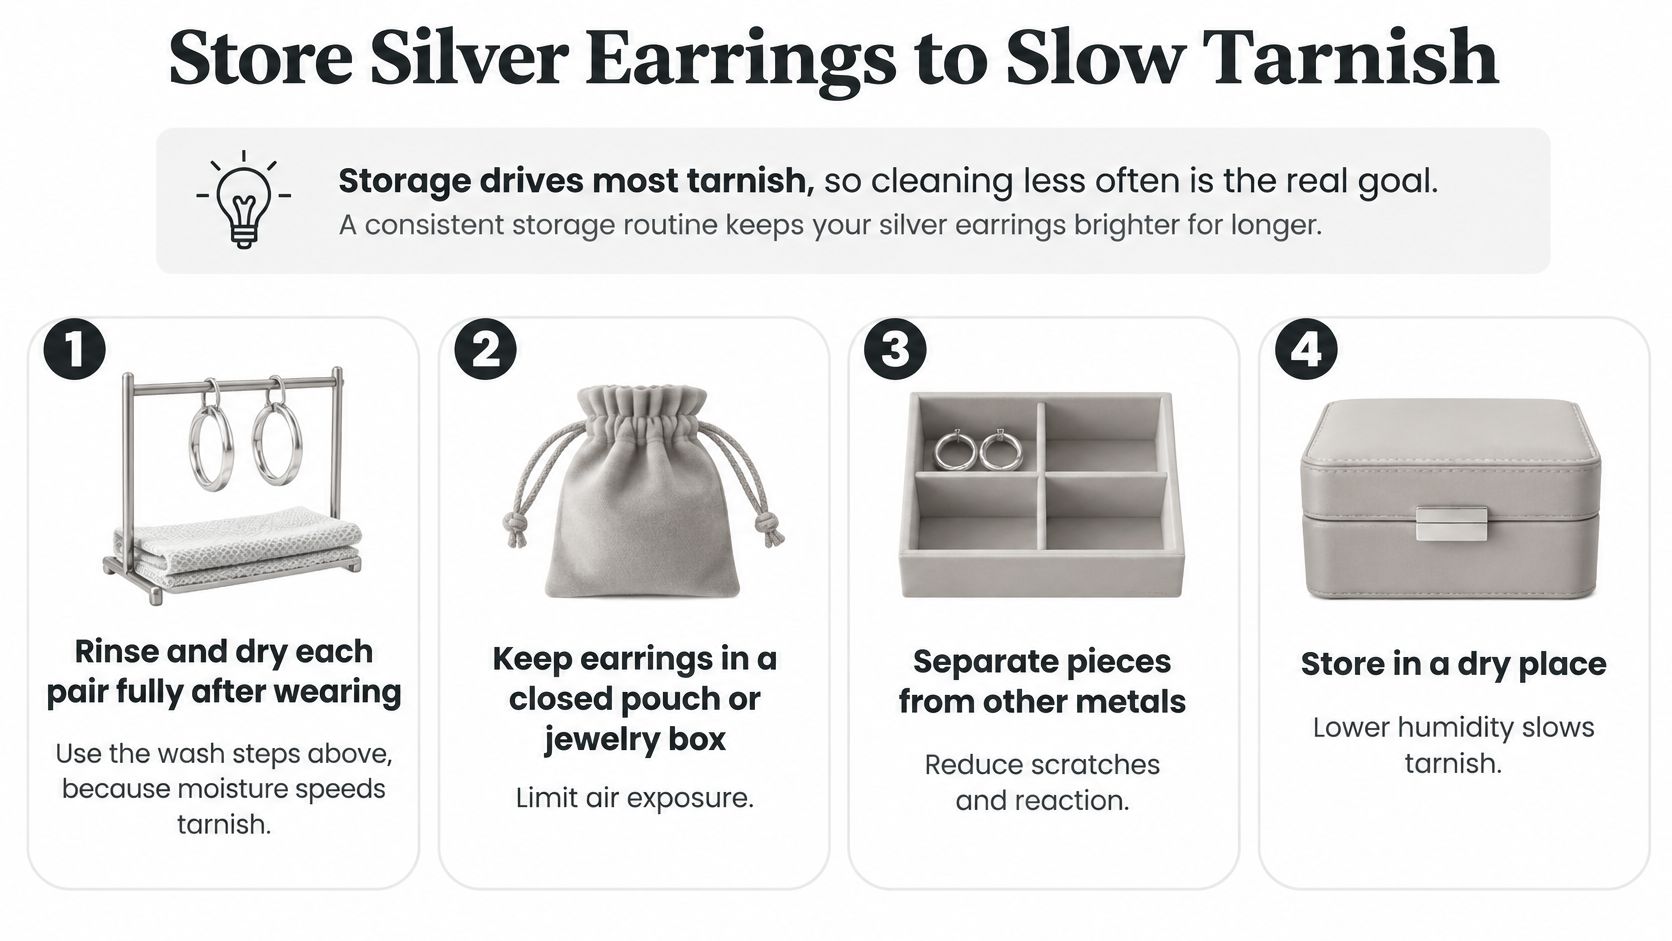
A short storage checklist
- Put earrings away fully dry. If they feel filmy after wear, use the cleaning method suited to their material. After any wash, remove all cleaner residue and dry crevices, posts, and backs thoroughly. Leftover polish can hold moisture against the metal.
- Remove them before showering, swimming, or working out. Gold filled and silver jewelry can be worn in the water, and it lasts much longer if removed before these activities. Dry any splashes before putting the pair away.
- Keep chemicals and alcohol-containing products away. Perfume, hairspray, and hand sanitizer can damage or burn the finish. Apply fragrance before putting on jewelry, and keep earrings clear of the spray.
- Give each pair its own space. Use acid-free tissue or an anti-tarnish pouch rather than leaving earrings loose among chains. Separate storage also keeps posts and decorative surfaces from rubbing against other pieces.
- Choose a dry location away from rubber, wool, and cosmetics. Keep the storage pouch or drawer out of the bathroom, where shower steam adds moisture.
For trips, pack only dry earrings. A pouch works like a small protective compartment, but it cannot dry a damp pair. Our guide to how to store jewelry when traveling explains packing without crushing posts or mixing metals.
Irritation, Stop Signs and Your Next Step
If your earrings look brighter after cleaning but your ears start itching, pause before wearing them again. Washing removes sweat, cosmetics, and surface film. A skin reaction needs separate attention, and more polishing can wear through a coating and expose a different metal underneath.
The International Association of Contact Dermatitis describes the association between nickel allergy and ear piercing, including reactions known as earring dermatitis. Cleaning cannot make a nickel-containing post safe for someone with a nickel allergy.
None of EP Fine Jewelry's jewelry contains nickel. When shopping for earrings elsewhere, check the materials of both the posts and backs: a sterling silver front describes only part of the pair. Our guide to stud earrings for sensitive ears explains why the metal passing through the piercing deserves its own check.
If itching, redness, or swelling starts
- Stop wearing the pair. Give irritated skin a break before trying another pair in the same piercing.
- Keep household chemicals, perfume, and sanitizer off irritated skin. These products can sting broken skin and do not treat the reaction.
- Before wearing the earrings again, rinse away all cleaner and dry them fully. Any residue left on the post goes into the piercing with the jewelry.
- See a doctor if symptoms persist, worsen, or include significant swelling or discharge. These signs need medical attention.
When to stop cleaning the earrings
Check the finish before another cleaning attempt. An uneven surface, fading colored detail, loose stone, or black film that stays in a joint is a reason to take the pair to a jeweler. Do the same if you cannot identify the finish. A method suited to plain sterling may damage a plated surface or remove deliberate dark detailing.
Polishing will not replace worn plating.
EP Fine Jewelry carries a 90-day warranty, and plating is not covered. For help identifying a finish, email info@epfinejewelry.com. For text message support, text HELP to +18556651121.
Your next step is to match your pair to the material table at the start of this guide before cleaning again. Choose the method for the finish you own.
EP Fine Jewelry makes fashion jewelry in silver and 14K gold, with personalized options across its collections. If you are choosing earrings for everyday wear or a gift, visit EP Fine Jewelry to browse the collection and check material details before buying.