
You've ordered a birthstone ring because it means something, then tried it beside the bands you already wear. In the bathroom mirror, the stones bump, one ring twists sideways, and the whole combination looks more crowded than intentional. The product photo promised effortless layering. Your hand is asking for a better plan.
Stackable rings with birthstone work best when you treat them as a small piece of engineering before treating them as a collection of symbols. Band width, setting height, knuckle clearance, and metal finish decide whether a stack feels polished or irritating. Choose those details first, then add birthstones for family, milestones, or personal meaning.
Table of Contents
- Why a Birthstone Stack Looks Easy but Rarely Works on the First Try
- Choosing Band Width, Profile, and Metal Mix
- Picking Birthstones That Actually Hold Up Daily
- Sizing and Layering Order for a Comfortable Stack
- Three Stack Recipes You Can Copy Today
- Personalization Options Worth the Extra Step
- Daily Care and Quick Fixes for Long-Term Wear
Why a Birthstone Stack Looks Easy but Rarely Works on the First Try
A customer once brought three rings to the counter in a small fabric pouch. One was a slim gold band, one had a raised oval stone, and the third was a wide silver ring with a textured finish. Each ring looked good alone. Together, they pinched at the knuckle, the raised stone caught on clothing, and the slim band disappeared between the heavier pieces.
That's the common failure pattern. A stack can contain beautiful rings and still look wrong because the rings aren't sharing the same visual or physical space. Online photographs also hide the way a setting presses against neighboring bands, especially when the model's fingers are relaxed and the rings have been carefully positioned.
Counter rule: Build the stack around the ring that carries the most height or visual weight. Don't ask a delicate band to solve a spacing problem created by a top-heavy stone.
Three mechanical issues cause most disappointing combinations:
- Uneven band widths: Several rings with similar heavy profiles can merge into one block. Several ultra-thin rings can look weak beside a larger birthstone setting.
- Excessive setting height: A high prong setting creates a snag point and pushes adjacent bands away from the finger. A low bezel or flush setting usually integrates more smoothly.
- Incorrect sizing: Ordering every ring in the same size ignores the fact that layered rings occupy more space and must pass over the knuckle together.
Metal and finish can make the mismatch louder. A polished yellow-gold band beside a heavily hammered white-metal ring creates deliberate contrast only when the difference looks planned. If the rings vary in color, width, height, and texture at the same time, the eye has no clear focal point.
Before buying another piece, lay the rings on a flat surface in the order you expect to wear them. Then put them on and move your hand naturally. Use this practical guide to stacking rings as a styling reference, but judge the final result on your own hand, not on a product page.
Choosing Band Width, Profile, and Metal Mix
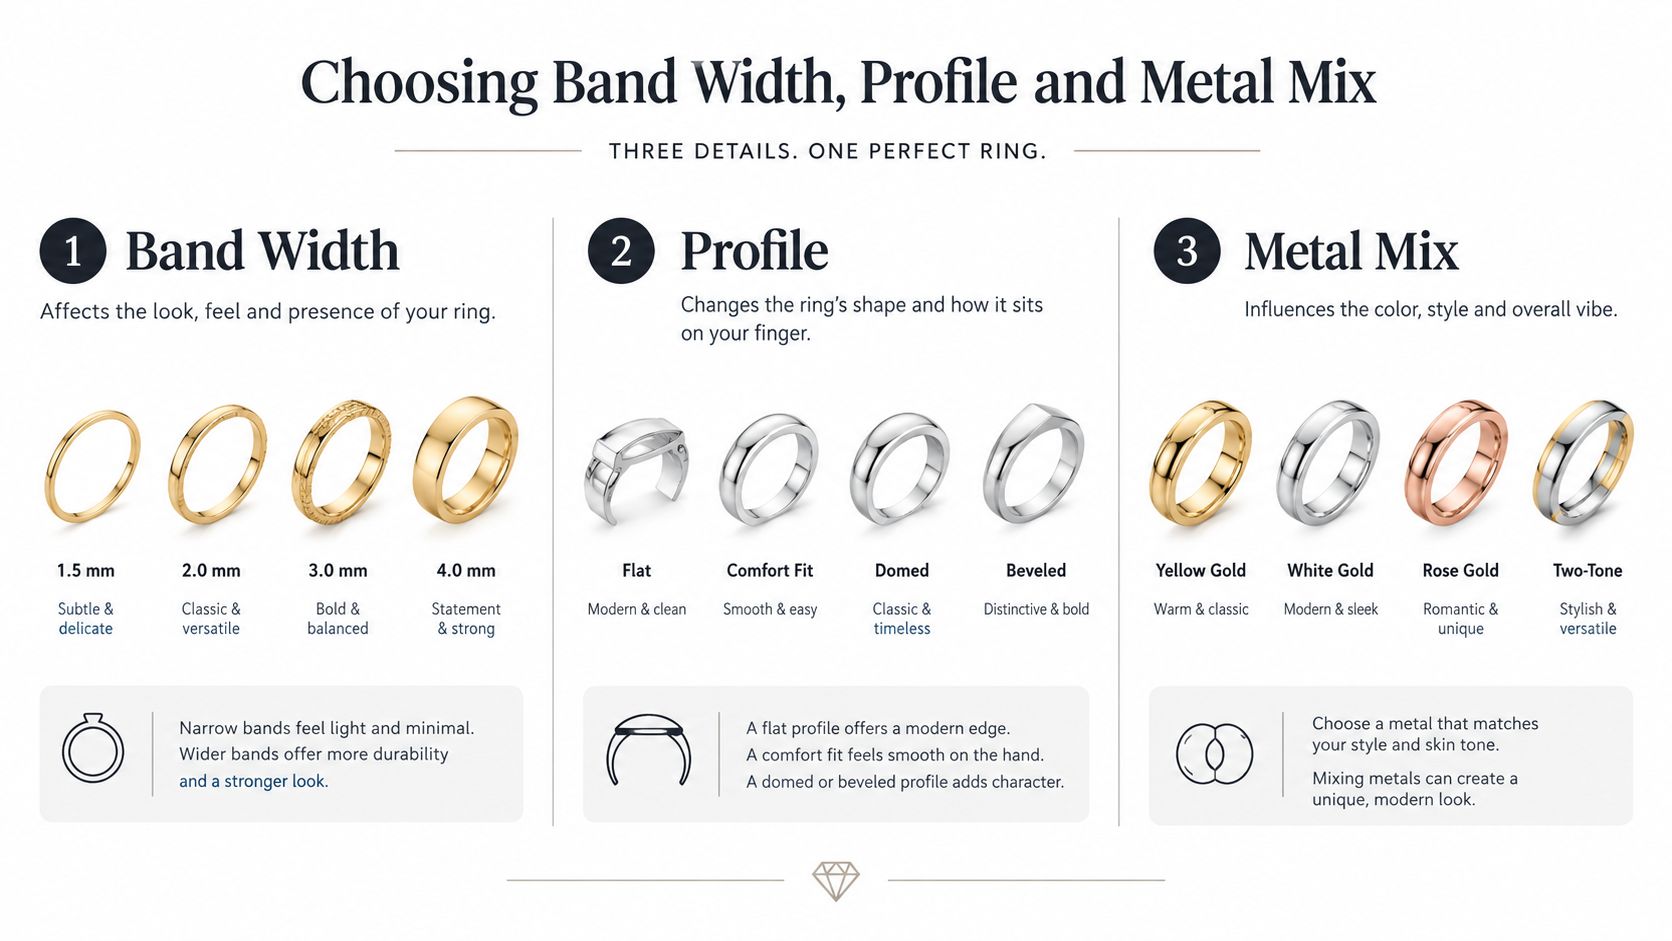
A stack can look balanced on the tray and feel awkward the moment you bend your fingers. Set the order by width, profile, and metal first. Then check setting height and knuckle fit. Those decisions control whether the rings read as a deliberate set or a pile of favorites.
Let band width create the rhythm
Slim bands provide visual breathing room. A medium band carries more presence and can anchor the stack. A broad band should make one clear statement, not compete with several other substantial rings.
Use this arrangement:
- Choose the ring with the strongest stone or widest profile as the anchor.
- Place a slimmer band beside it to separate the larger forms.
- Add another band with a different width instead of repeating the same visual weight.
- Move the widest piece away from the most prominent knuckle if it restricts movement.
The goal is visible rhythm. Each ring should remain distinct, while the widths guide the eye across the hand.
Keep the stone close to the finger
Profile height often decides whether neighboring bands sit comfortably. A low bezel, flush setting, or channel setting integrates more easily with plain bands. A tall prong setting needs room, especially when pointed edges or an angular shape can catch on fabric.
For a stack of three or more rings, low-profile settings under 4.5 mm in height can reduce bulk and friction, according to stacking guidance for engagement and wedding rings. The same guidance reports that three 1.8 mm bands create about 22% more lateral pressure than one 2.2 mm solitaire. Several thin rings are not automatically more comfortable than one wider ring. A rough inner shank can also increase friction wear by 3.2 times, so choose polished interiors and tapered bands when comfort matters.
Put the rings on and flex your fingers before buying another piece. If a band presses into the knuckle, twists the anchor ring, or catches when your hand closes, change the order or choose a lower profile.
Mix metals with one clear accent
Mixed-metal stacks look strongest when one metal forms the base and another appears as a controlled accent. Yellow or rose gold pairs naturally with white gold or platinum, while repeating every color in every ring makes the set look busy.
Use a warm-metal foundation with one cool-metal birthstone ring, or reverse the combination. Keep the finishes related when the colors already contrast. Several polished rings look coordinated, while one hammered band can serve as the intentional focal point. For practical guidance, see this advice on mixing gold and silver jewelry.
Picking Birthstones That Actually Hold Up Daily
Meaning shouldn't force you into a fragile ring that you'll be afraid to wear. For a daily stack, start with the stone's hardness, then choose a setting that protects its edges.
The most durable group includes diamond, ruby, and sapphire, which sit at Mohs 9 to 10 according to birthstone ring buying guidance. These are the stones I'd choose for someone who wants a ring on the hand every day and doesn't want to rotate it out for ordinary activities. Hardness isn't the only factor in durability, but it's a useful first filter.
Medium stones such as amethyst, aquamarine, and peridot can work in a daily stack with reasonable care. They're good choices for a birthstone that will be worn often but not treated like a tool. Softer or cleavage-prone stones need more protection, especially when they sit beside other rings that can rub against their edges.
A bezel setting surrounds the stone with metal and is my first choice for a softer birthstone. A flush setting keeps the surface close to the band. A halo can also shield edges, but it adds height and visual weight, so check how it sits beside neighboring rings. Prong settings show more of the gemstone, but they leave the edges more exposed and are better suited to harder stones.
A 3 mm stone in a 3.5 mm tube setting is one common technical configuration for a stackable birthstone ring, as noted in the same buying guidance. It keeps the stone present without requiring an oversized setting.
| Tier | Stones and hardness | Recommended setting | Stack role |
|---|---|---|---|
| Durable daily wear | Diamond, ruby, and sapphire, Mohs 9 to 10 | Prong, bezel, or low-profile settings | Main birthstone or everyday anchor |
| Careful daily wear | Amethyst, aquamarine, and peridot, medium hardness | Bezel, flush, or protected prong settings | Personal accent or supporting ring |
| More vulnerable wear | Softer or cleavage-prone stones | Bezel, halo, or flush settings | Occasional ring or protected accent |
If a softer stone is essential to your piece, don't abandon the design. Move it to a pinky or right-hand ring, choose a low profile, and remove it for hard work. A birthstone stack should fit your life, not punish you for wearing the piece that matters most. This birthstone ring charm guide can also help if you want to carry the meaning in a format that doesn't expose a soft stone to constant hand contact.
Sizing and Layering Order for a Comfortable Stack
A stack can look perfect in the tray and pinch within minutes of wear. Fit the knuckle, setting height, and band order before judging the styling. Measure at room temperature in the mid-afternoon, when your fingers reflect normal daily conditions. Size the largest or most substantial band so it passes comfortably over the knuckle.
For the remaining bands, start with one-quarter to one-half size smaller for a snug base fit. Treat that range as a fitting starting point, not a rule. A tall birthstone setting may need extra knuckle clearance even when its shank is narrow, while a plain band can sit closer without pressure.
Fit the knuckle before styling the base
Put the largest ring on first and move your finger naturally. Bend the finger, make a loose fist, and check whether the setting presses against neighboring fingers. If the ring fits only when your hand is cold and still, it is too tight for daily stacking.
A ring that spins repeatedly is too loose, especially if the stone has a directional shape. A persistent red mark signals excessive pressure. Temporary marks can occur with close-fitting jewelry, but pain, numbness, or swelling means the ring must come off.
Layer from the finger outward
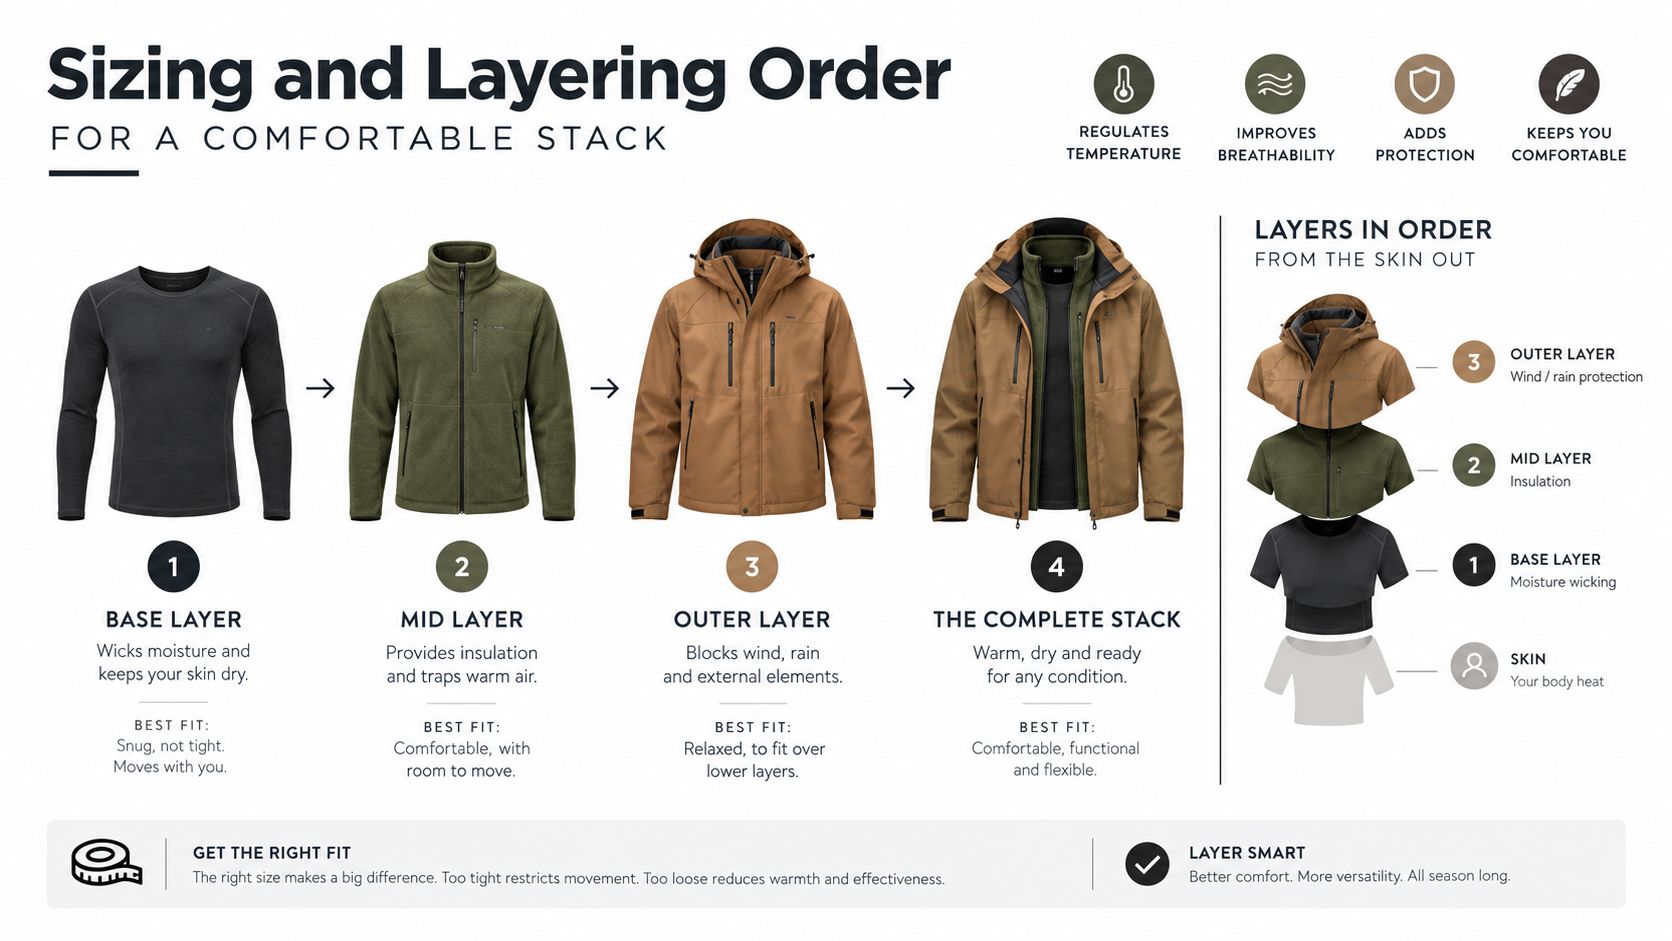
Put the ring with the most visual weight where it remains easy to see, usually on the middle or index finger when styling across several fingers. On one finger, place the most stable band closest to the base. Add rings that need more movement above it, and flank a tall stone with slimmer bands instead of another raised setting.
Alternate widths to prevent visual clumping. A thin band beside a wider band gives both pieces definition. Very thin bands rotate more easily, so place them between wider rings rather than at the outer edge.
Use this fitting sequence:
- Put on the largest setting and check knuckle clearance.
- Add the widest supporting band at the base.
- Add slim bands between wider pieces.
- Move each ring through a normal range of motion.
- Remove any ring that rubs, flips, or traps a neighboring setting.
For a detailed measuring process, follow this guide on how to find your ring size. For a gift, ask the recipient's jeweler or borrow a ring already worn on the same finger. A measurement from another finger can produce the wrong fit and an avoidable return.
Three Stack Recipes You Can Copy Today
The easiest way to build a personal stack is to copy a structure, then swap in the stones and metals that carry meaning for you. These three arrangements cover most real-life needs without asking every ring to be the star.
The solo statement
Use one birthstone ring with a low bezel and a moderate-width band. Place it on the middle finger, then add slim plain bands above and below only if the setting leaves enough room. Keep the metal consistent, or make one contrasting metal band the deliberate accent.
This works for someone who owns one meaningful stone and wants a finished look without committing to a full family collection. The birthstone carries the attention, while the plain bands provide balance. If the stack feels heavy, remove one side band first.
The family set
Choose the birthstones of a parent, child, and partner, then vary the widths so the center ring has the strongest presence. Add slim spacer bands between the stones if the settings touch. Keep all three rings at a similar profile height, or use bezel settings to keep the combination close to the finger.
Wear the set on the ring finger when the story is connected to family or partnership. If three stones feel crowded, place the most important one on the ring finger and move the others to adjacent fingers rather than forcing every relationship into one narrow space.
The milestone stack
Combine one birth month, one anniversary or achievement stone, and a plain band that marks the purchase or occasion. Use the plain band as the visual rest point. Arrange the rings from substantial to slim, and keep the strongest stone away from another high setting.
This recipe suits a stack that will grow over time. Start with the personal stone, then add a milestone ring later instead of buying a crowded set immediately.
| Stack type | Rings included | Finger placement | Total width |
|---|---|---|---|
| Solo statement | One birthstone ring and slim plain bands | Middle finger | Narrow to moderate |
| Family set | Three birthstone rings and optional spacers | Ring finger or divided across fingers | Moderate to broad |
| Milestone stack | Birthstone ring, milestone stone, and plain band | Ring finger, middle finger, or spread across the hand | Narrow to moderate |
The right recipe depends on how many stones you already own. Count the stones first, then count the metal colors. If you already have two contrasting metals, keep the next ring simple. If all your rings are plain, let one birthstone setting become the focal point.
Personalization Options Worth the Extra Step
Personalization should add meaning without making the ring difficult to wear, resize, or combine later. Each custom choice reduces future flexibility, so choose the detail you will value most instead of adding every available option.
Give engraving enough room
Engraving works best on a band 2.5 mm or wider. A narrow shank leaves less usable surface, which can make the message hard to read. Choose a short date, initial, or private word rather than a sentence. An inside engraving keeps the outside clean and preserves the visual rhythm of the stack.
Choose the band carefully. A heavily engraved ring may be harder to repurpose if your preferred combination changes. If you plan to add rings for future milestones, keep the engraving understated and place it on a stable band that will not move often.
Select the stone cut with future additions in mind
Calibrated stones follow standard dimensions, so they fit compatible commercial settings more predictably. Custom-cut stones create a more distinctive look, but they may require a bezel made or reset for that specific shape.
For a stack, the trade-off is practical. A standardized stone is easier to replace or match later. A custom cut gives the ring more personality, while making future additions slower and potentially more expensive. For a gift, calibrated stones usually create fewer fitting complications.
Use mixed metals with a clear plan
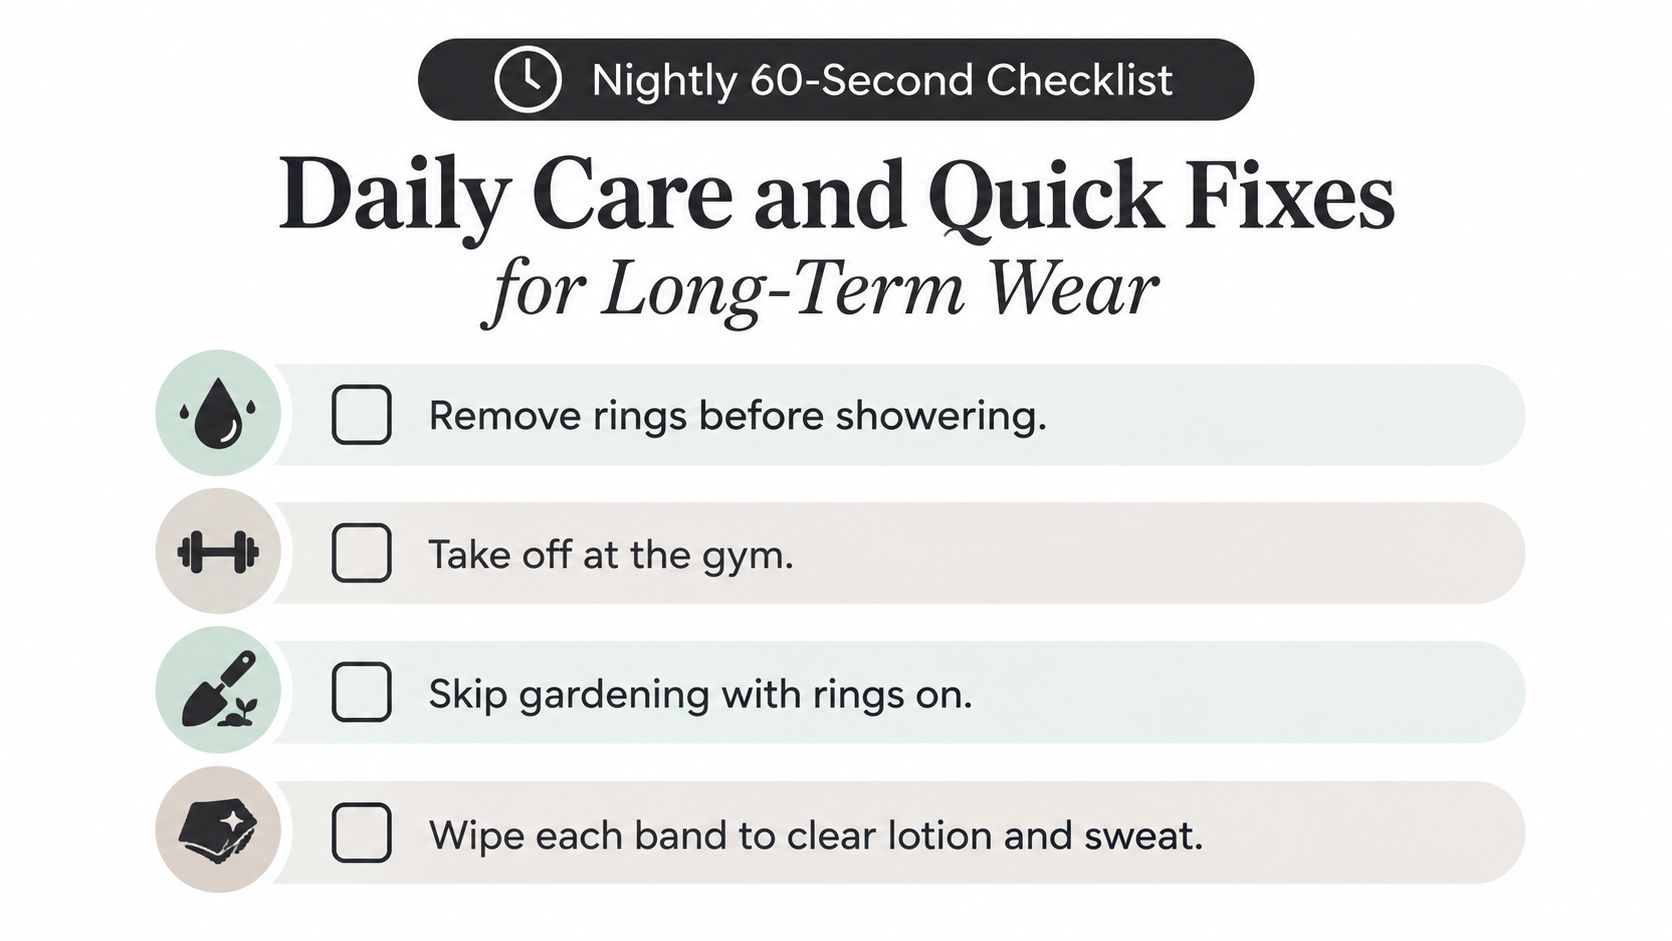
Start with one dominant metal and add an accent ring in white gold or platinum for contrast. Match profiles, similar widths, or repeated finishes to keep the combination cohesive. A single white-metal birthstone ring can make an all-yellow stack feel more current without making the set look random.
Initials, hidden messages, and custom birthstones suit anniversary additions. Keep the physical space in mind. A stack of four to five rings is easier to restyle than a larger pile, particularly when several rings include stones or textured surfaces.
EP Fine Jewelry offers personalized jewelry, rings, and care information. Compare its custom options with simpler stackable bands before deciding how much personalization your hand can comfortably carry.
Daily Care and Quick Fixes for Long-Term Wear
A birthstone stack lasts longer when you remove it for the activities that create the most grime, impact, and friction. Make the routine simple enough that you'll follow it.
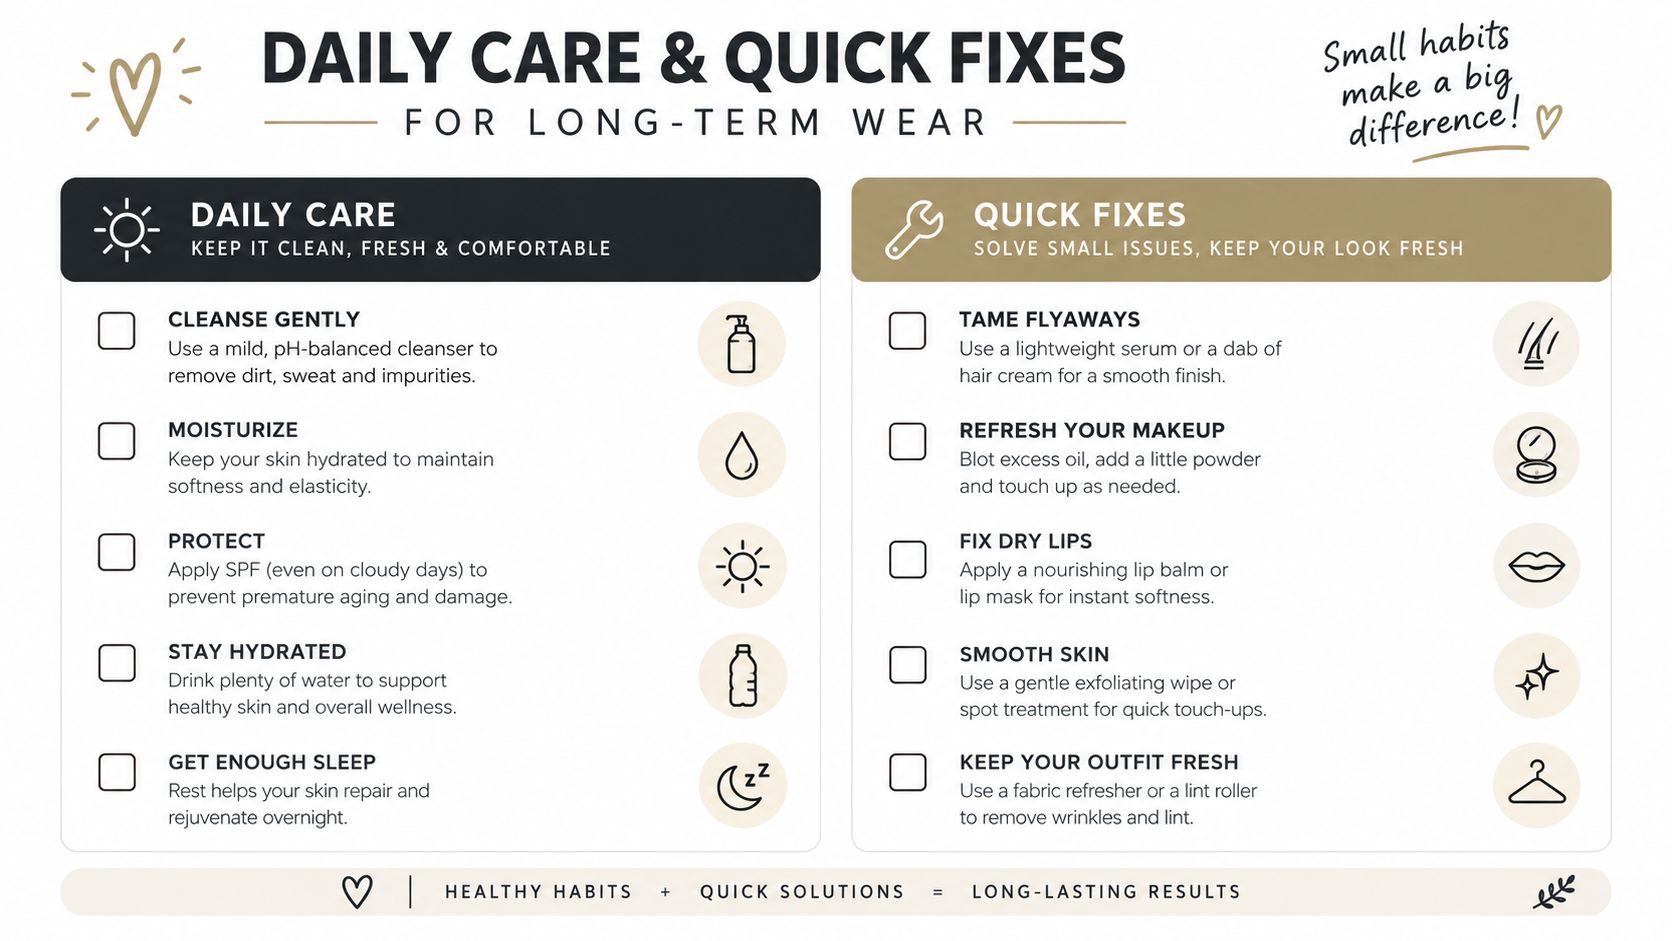
At night, remove the rings before showering, exercising, gardening, or washing dishes. Lotion, soap film, sweat, and grit can settle between close-fitting bands and under settings. Wipe each ring with a soft microfiber cloth before putting it away. These simple habits are consistent with jewelry care instructions for everyday pieces.
Match the fix to the problem
- A loose ring rotates: Ask a jeweler about a sizing bead or use a thin silicone guard as a temporary solution. Don't add padding if the ring already leaves pressure marks.
- An oval stone turns sideways: The setting may need adjustment. A jeweler can inspect the prongs and correct the fit instead of forcing the ring back into place every morning.
- A band looks scratched: Have the surface assessed during a routine inspection. Some scratches can be buffed, while textured or intentionally matte finishes may need a more careful approach.
- A softer stone looks cloudy: Clean it gently and avoid aggressive polishing products. Residue can collect around protected settings and make the stone appear dull.
Polish plain bands with a treated cloth every two to three months, but keep polishing products away from the gemstones. Softer stones can react poorly to residue or vigorous rubbing, and textured finishes can lose the character that made them appealing.
Schedule a jeweler inspection every six months if you wear the stack regularly. The jeweler can check prongs, assess spacing, refresh rhodium on white gold when needed, and identify wear before a stone becomes loose. Don't wait for a missing stone to become your reminder.
Store each ring in a divided tray rather than dropping the stack into one compartment. Separate spaces keep softer stones from knocking against polished edges and stop the rings from rubbing together while they're off your hand.
Choose the stack by solving the fit first, then the height, then the metal balance, and only after that add the birthstones that tell your story. EP Fine Jewelry offers personalized jewelry and stackable ring options for shoppers building meaningful combinations over time, with care guidance to support ownership. Visit EP Fine Jewelry to compare rings, personalization choices, and gift-ready options for your next birthstone stack.